Home
Training
Dashboard
Products
Help
Blog
Sign up
Login
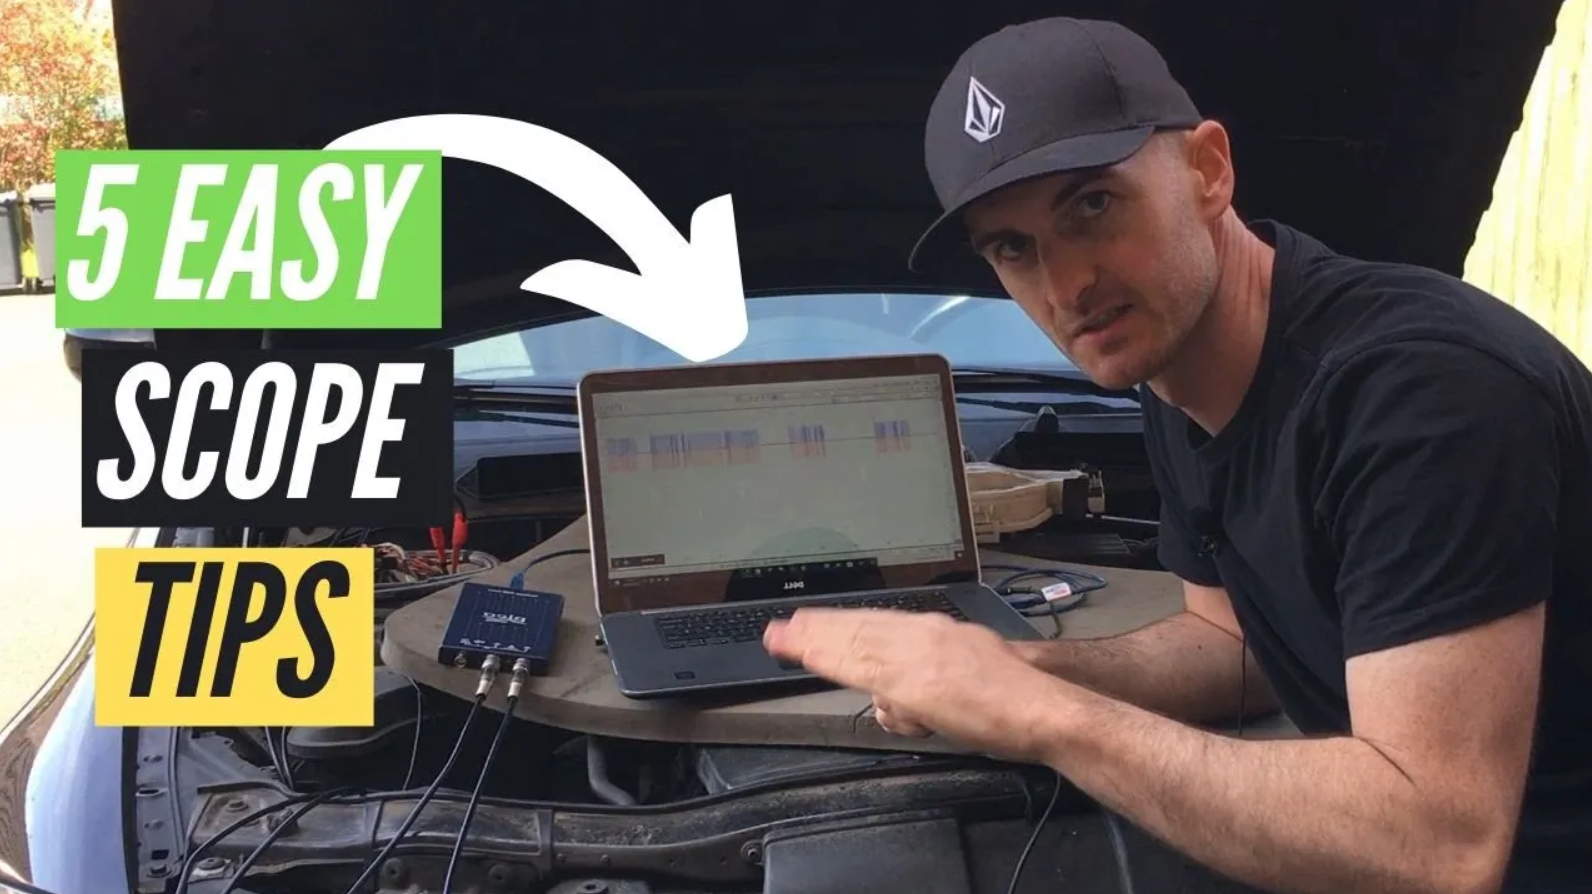
5 Tips for Setting Up Automotive Oscilloscope Testing
1. Basic Automotive Oscilloscope Training
1. Understanding Your Targets and Choosing the Right Equipment
2. Tip 1: Test Your Setup
3. Tip 2: Set the Voltage Scale
4. Tip 3: It’s All About Timing
1. Fast Signals
2. Slow Signals
5. Tip 4: Hold it Right There!
1. How to Use the Trigger Function
6. Tip 5: Have Confidence!
5 Tips for Setting Up Automotive Oscilloscope Testing
7 minute read
Related Posts
No Posts Found